
All you are going to learn is how to update a label's content on the watch with label content from the phone. I am assuming that you already know how to set up an app with a WatchKit target. There are plenty of existing resources if you do need to find out.
The first step is to set up a shared container to link the two devices.
1. In Xcode-Beta, click on the Project at the top of the left column, click on the Show Project and Target Lists icon and choose the capabilities tab.

2. Turn on App Groups and the "Select a Development Team" pop up will appear. Select your team, click choose and Xcode will add the "App Groups" entitlement to your App ID. All good so far?


and click on the + sign below the app groups window in the App Groups section and the "Add a New Container" pop up will appear.
Giving the group the correct name format is critical. If you have managed to get Lister going, you will have discovered that you have to add your own bundle identifier prefix before it will run. You need to do a similar edit here when you name the container. Click on ok and Xcode will add the group.

4. Now select the WatchKit Extension target. It is the one with the E in a circle in front of it. Select the container you just created and Xcode will do it's thing again and now your two devices have access to a shared container.

5. Now we can get down to building the interface on the phone and the watch and add the required code.
In the Main.storyboard add a label, textfield and button to a compact layout to keep things nice and simple. In the Interface.storyboard add a label and a button.

6. Use the Assistant Editor to connect all your layout objects to the relevant ViewController.swift and InterfaceController.swift files.
7. Let's code up the main app first. Here is the code for ViewController.swift

8. Here is the code for InterfaceController.swift

9. Ok Let's build and run. Just make sure the Watch App scheme is selected first though.

10. When the main app appears type in a string in the textfield and click the save data button. The label will not update at this stage as we are going to leave that to be addressed in the next step.

11. Hold down Shift and Command and double tap the H key so as you can swipe the app up to close it.
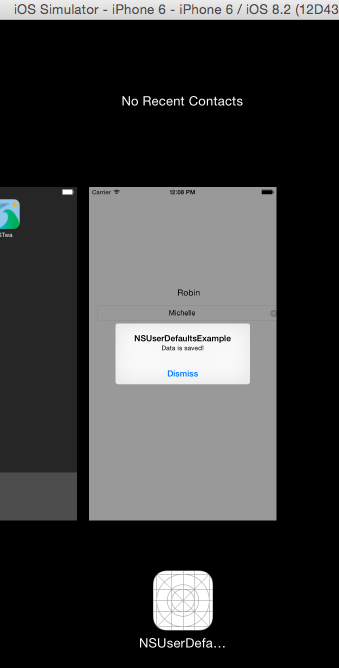
12. Now reopen the app and Voila!, the label should now display the string you saved.

13. Ok let's get it on to the watch now. If you can't see the watch simulator, go to the Simulator Hardware menu and select External Displays/Apple Watch - 42mm and it should look something like this.


14. Click on the button and Ta Da!, you should see the label fill with the string you saved.

So that's it. There are various ways you could implement this including dumping the code into init() or willActivate() so as it loads on start up and maybe using WKTimer to check for changed data at a specific interval. You could also experiment with implementing sending data back to the main app too. The important matter though, is that now you at least know how to share data in, probably the most useful direction, which is from the phone to the watch.
No comments:
Post a Comment